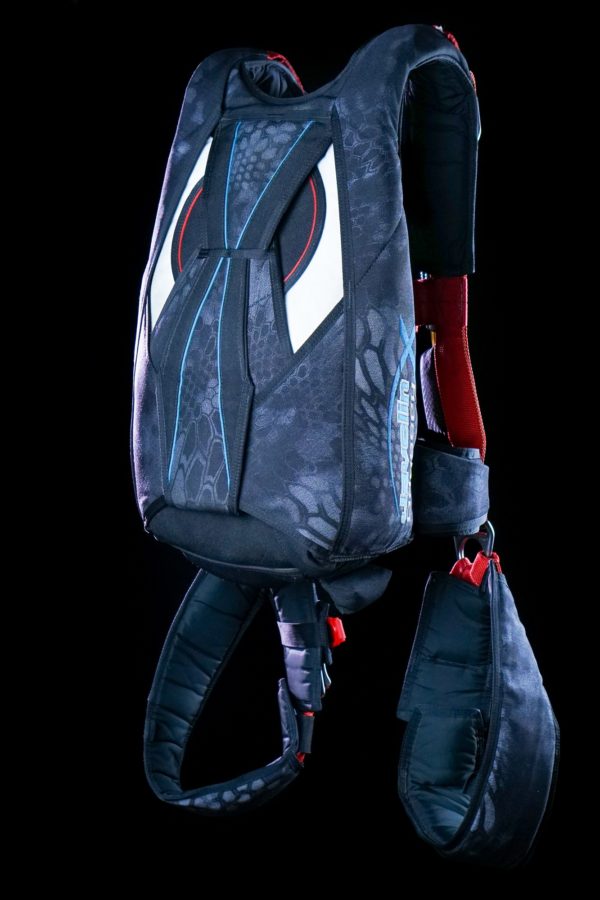
MONTHLY CUTAWAY SYSTEM MAINTENANCE ARTICLE
Here at Sun Path Products, we know what a big choice it is to purchase your first custom rig and we love the skydivers who decide to jump our gear. At Sun Path we understand how important it is for you to protect your investment. With proper care and gear maintenance, your new Javelin will last for thousands of jumps.
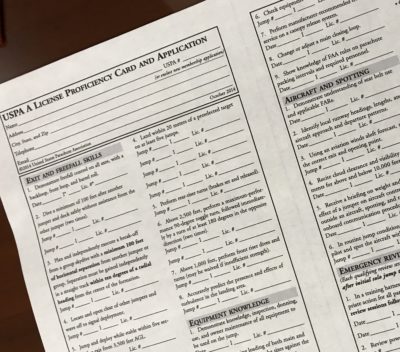
If you were licensed by the USPA, you probably remember the Equipment Section on you’re A-License Proficiency Card. That was the part of the student program when you learned to pack a main parachute. It may have seemed a daunting task at first, but with practice has become second nature. One of the other requirements of that section was to “perform manufacturer-recommended owner service on a canopy release system.” Now that you’re licensed you’ve probably packed a lot of parachutes and have become comfortable with the task. When was the last time you performed the manufacturer’s recommended owner maintenance to your gear? And do you know why it is important? If you had to think about it, then it is probably time for you to do a little owner’s maintenance on your gear.
Every time we jump and pack, our gear collects dirt and grime. The climate and conditions you jump in will affect the severity of the wear on your gear. To ensure that we have gear that functions properly and looks good for many jumps to come, it is important to maintain it. Certified Riggers should perform a full inspection of your gear when they repack your reserve, but this may only happen once or twice a year unless you have a cutaway. Between repack cycles it is important that you are performing your own inspections after every jump and performing the regular owner’s maintenance.
Sun Path Products recommends performing owner maintenance to your 3-ring Cutaway System at least once a month. This is a step by step guide to maintaining your Cutaway System.
The first few times you perform this maintenance we recommend you do it under the direct supervision of your local rigger or instructor to ensure correct reinstallation of your cutaway cables and 3-ring assembly and to help double check main canopy continuity prior to jumping.
| To perform this service, you will need two things:
|  |
| If your rig is equipped with a Reserve Static Line and/or Skyhook Collins Lanyard, we first need to disconnect the RSL. Leaving the RSL Lanyard in its channel, inspect the RSL shackle function. It should operate smoothly during both opening and closing. (Figure 1) |  |
| Now remove the yellow cutaway cables by peeling the cutaway handle away from its pocket and extracting the cables from their housings. (Figure 2) If you haven’t performed this maintenance in a while, you may notice a lot of black dirt on your yellow cables. The Hook Velcro on your cutaway handle can damage other materials so be sure to keep it away from the container to avoid unnecessary damage or wear. |  |
| To clean your cables, spray a fair amount of the Food Grade Silicone onto a towel. Run the towel away from the handle, squeezing each cable firmly between your fingers. Repeat this step as many times as necessary until your cables are returned to their clean, yellow appearance. (Figure 3) |  |
| Once clean, inspect the cables by sliding them between your thumb and index finger, checking for any damage. The cables should feel smooth to the touch. (Figure 4) |  |
| Now that you have cleaned and inspected your cables you are ready to perform the maintenance on your risers and ring attachments. Disassemble your 3-ring system. Dirt and grime can build up in the webbing of the risers while packing your main, which may cause the webbing to retain memory and be slower to release. If you haven’t performed this service in a while you may notice the ring attachments stay in a folded position at first. Without disrupting the orientation of the riser, massage the webbing of the ring attachments only, ensuring that it is pliable. (Figure 5) |  |
| Inspect the rings on your harness and risers. Use your fingers to feel for any sharp edges or burrs. Turn the rings on your risers. You should not feel any snagging or catching on the webbing. (Figure 6) |  |
| Inspect the grommets on the risers and cable housings for any sharp edges or cracks and check to see that they are seated fully. You should not be able to get a fingernail under the grommet’s edge. (Figure 7) |  |
| Inspect the White loop on your risers. Everything should be in good condition without signs of wear. (Figures 8 & 9) |  Figure 8: Inspect front of the while loop for signs of wear. Figure 8: Inspect front of the while loop for signs of wear.
Figure 9: Inspect back of the white loop for signs of wear. |
| Now that you have performed your 3-ring maintenance and inspections it’s time to reassemble your cutaway system. Start by opening your main riser covers with the back of the rig leaning against you. (Figure 10) |  Figure 10: Open your main riser covers. Figure 10: Open your main riser covers. |
| Begin inserting the yellow cables back into the cable housings. (Figure 11) |  Figure 11: Begin inserting the cables back into the cable housing. Figure 11: Begin inserting the cables back into the cable housing. |
| The longest cable goes around the yoke through a split housing, to the wearer’s left side and the shortest cable goes to the wearer’s right side. (Figure 12) |  Figure 12: Split housing is located on the right side yoke under the reserve riser cover and RSL flap on newest versions of the Javelin Odyssey. Figure 12: Split housing is located on the right side yoke under the reserve riser cover and RSL flap on newest versions of the Javelin Odyssey. |
| Note: If you have an earlier version of the Javelin, you may find your split housing looks different than Figure 12. The split housing on early versions is located in the back of the yoke, accessible by opening the reserve pin cover flap and reserve riser covers. Because of the proximity to the reserve parachute, we recommend having a rigger help you route your cutaway cables correctly when the split housing is found in that configuration. (Figure 13) |  Figure 13: Older version of split housing. Assistance from a Rigger is recommended for rerouting cables with this configuration. Figure 13: Older version of split housing. Assistance from a Rigger is recommended for rerouting cables with this configuration. |
| If the system is outfitted with a Collins Lanyard, ensure the longest cutaway cable is routed through the Collins Lanyard under the RSL flap and then back into the housing in the yoke. Place the RSL flap back under the RSL Channel. (Figures 14 & 15) |  Figure 14: The longest cable must be routed through the Collins Lanyard, if equipped, and back into the split housing. Figure 14: The longest cable must be routed through the Collins Lanyard, if equipped, and back into the split housing.
Figure 15: Replace the RSL flap under the RSL channel. |
| Once the yellow cables are installed fully into the housing, seat your cutaway handle completely into the pocket, ensuring that no hook Velcro is exposed. (Figure 16) Check that your handle is fully seated in this fashion prior to every jump. |  Figure 16: Place the cutaway handle back in its pouch in the MLW and ensure that no hook velcro is exposed. Figure 16: Place the cutaway handle back in its pouch in the MLW and ensure that no hook velcro is exposed. |
| Now reassemble your 3-ring system to the correct snowman-like configuration. Medium Ring through Large Ring and Small Ring through Medium Ring (Figure 17) |  Figure 17: Reassemble your 3-Ring, Medium ring through Large ring, Small ring through Medium ring. Figure 17: Reassemble your 3-Ring, Medium ring through Large ring, Small ring through Medium ring. |
| Pass the White Loop over and through the top of the small ring only, then through the grommet on the riser. Be sure the white loop lays flat without any twists. (Figure 18) |  Figure 18: Pass the white loop over the small ring only and through the grommet on the riser. Figure 18: Pass the white loop over the small ring only and through the grommet on the riser. |
| Hold the white loop in place with your fingers and place the grommet of the cable housing over the loop. (Figure 19) |  Figure 19: Hold the white loop in place with your fingers and pass the grommet on the cable housing over the loop. Figure 19: Hold the white loop in place with your fingers and pass the grommet on the cable housing over the loop. |
| Pinching the two grommets together, route the yellow cable through the loop fully. Be careful not to kink the cable. (Figure 20) |  Figure 20: Pinch the grommets together and pass the cutaway cable through the white loop. Figure 20: Pinch the grommets together and pass the cutaway cable through the white loop. |
| Gently insert the cables into the anti-twist tubes located on the back of each rear riser. (Figure 21) |  Figure 21: Insert the cable into the anti-twist tube on the back of the riser. Figure 21: Insert the cable into the anti-twist tube on the back of the riser. |
| Be sure your main risers are sitting on top of the label located on the reserve riser covers. Then close your riser covers by inserting the tuck tab into its pocket. (Figures 22 & 23) |  Figure 22: Place main risers on top of the labels on the reserve riser flaps. Figure 22: Place main risers on top of the labels on the reserve riser flaps. |
| Reconnect your RSL, and ensure that it is routed correctly. Finally, double check that you have routed everything correctly on both sides. (Figure 23) |  Figure 23: Correct snowman configuration of 3-Ring with riser covers closed and RSL connected and routed correctly. Figure 23: Correct snowman configuration of 3-Ring with riser covers closed and RSL connected and routed correctly. |


If any questions arise while performing the recommended maintenance contact us here at Sun Path or refer to your local rigger.
It is important to be and stay aware of the condition your equipment is in before and after every jump. Refer to Sun Path or your local rigger if ANY questions or concerns arise.
Always perform full gear checks prior to donning your gear.
Always perform gear checks prior to jumping.
Sun Path wishes you many happy jumps and safe landings!
